How can I show only the interesting compounds?
Summary: In Progenesis QI, tags can be used to categorise compounds. The compounds can then be filtered according to their tags, giving you a simple means of concentrating on the data of interest.
Tagging compounds
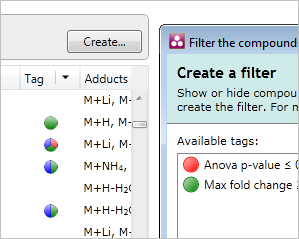 Tags are one of the most flexible analysis tools in Progenesis, allowing you to
attach a label to a selection of compounds. You can then show or hide compounds
using a filter that's based on a selection of their tags.
In this article:
- An example
- Creating new tags
- Applying and removing tags
- Renaming and deleting tags
- Filtering your compounds
An example
For example, you could very quickly find compounds whose expression is increasing significantly by doing the following:
- Create a tag called "Significant" for all compounds that have a low p-value
- Create a tag called "High fold change" for all compounds that have a Fold value greater than 2
- Create a tag called "Up-regulated" for all compounds that have their highest values in a Treated condition
- Combine these tags in a filter, so that only compounds that have all three of the tags are shown
Creating new tags
There are two ways to create new tags for your compounds:
- Create tags for the selected compounds
- Create tags for compounds having particular values
Creating a tag for the selected compounds
To create a tag for the selected compounds, first select the compounds to which you want to apply the tag. Compounds can be selected in the list at the left of the screen.
To select a range of compounds, you can click the compound at the start of the range, then hold down the Shift key and click the compound at the end of the range. To select or deselect an individual compound, hold down the Ctrl key and click on it in the list.
Next, right-click on any of the selected compounds in the list. The tag menu will appear; from this, select the New Tag… option. The following window appears:

Enter the name that you want to give the tag. If you'd like it to have a different colour, click the coloured button to the left of the name. When happy, click OK. The tag is created and each of the selected compounds is given that tag. If any compounds already had a tag, the new tag is applied in addition to the existing tags.
Creating tags for compounds having particular values
Using the QuickTags feature, certain types of tag can be created without first having to select compounds. For example, you can quickly tag all compounds with a p-value of less than 0.05.
To use QuickTags, right-click anywhere in the list of compounds. In the tag menu, open the Quick Tags sub-menu and select one of the options in it. As before, the Create New Tag window will appear. Enter a name for the new tag and, optionally, choose a colour, then click OK. This time, the new tag will be applied to all compounds that meet the criterion selected in the Quick Tags menu.
Note: if your compound measurements change, this tag will not be recalculated. That is, all compounds that were assigned the tag when it was first created will continue to have that tag, regardless of their new measurements.
Applying and removing tags
To give an existing tag to a compound (or set of compounds), simply select the relevant compounds in the list, then either:
- right-click on any of the selected compounds, or
- click the arrow in the Tag column header
Either method will display the tag menu. From that, simply select the tag you wish to apply or remove.
Renaming and deleting tags
If you need to rename a tag, or you want to delete a tag that you no longer need in your experiment, this can be done easily. Click on the arrow in the Tag column header and select Edit tags from the menu. The Edit Tags window appears:
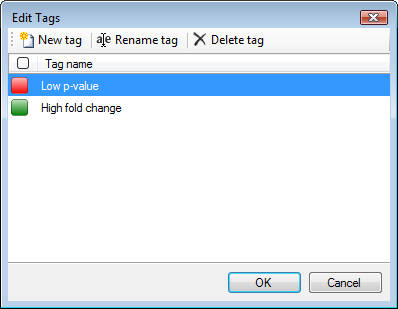
To rename a tag, highlight it and click Rename tag to show the Rename Tag window.
To delete a tag, highlight it and click Delete tag. Note that this will remove the tag from all compounds, not just the selected compounds.
Filtering your compounds
While labelling your compounds with tags is a helpful way to organize your data, filtering based on those tags is the more powerful analysis tool. By creating a filter, you can quickly reduce the amount of data you are viewing, enabling you to concentrate on the compounds of real interest.
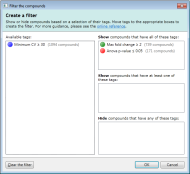
To create a filter, click the Create button in the filter panel shown above each compound list. The Create a filter window appears:
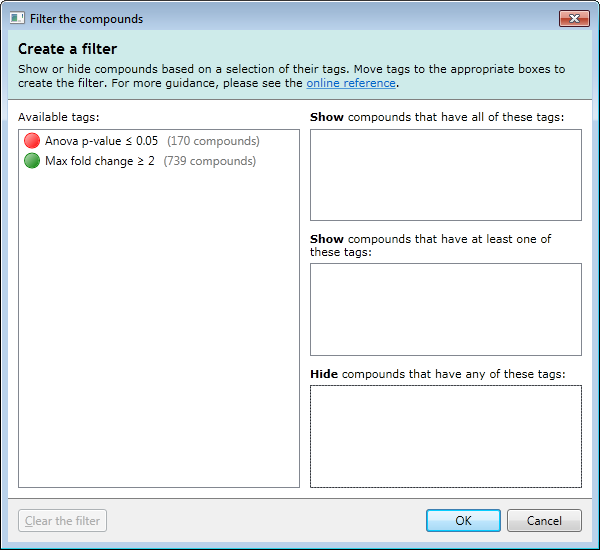
In this window, you can build a filter showing:
- compounds that have all of the tags in a given set
- compounds that have at least one of the tags in a given set
- compounds that have none of the tags in a given set
- or any combination of the above options
For example, imagine you have defined two tags: one for compounds that have a p-value of less than 0.05; and one for compounds that have a fold change of 2 or more. The Create a filter window would initially look as it does above. To show only the compounds that have both of the tags, click and drag each tag in the Available tags list to the top list on the right. When the done, the dialog looks like this:
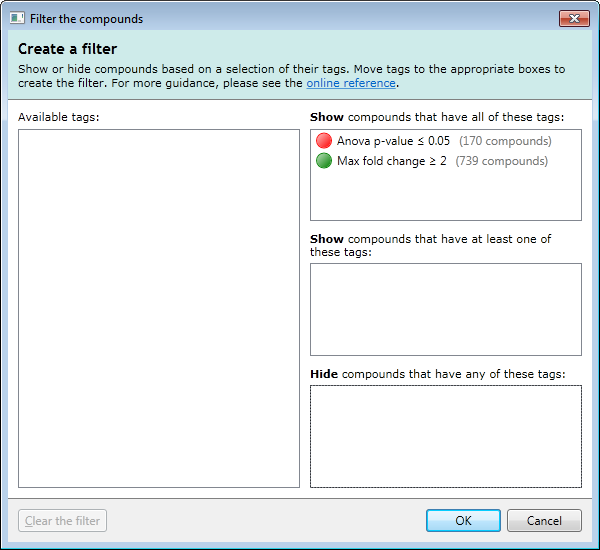
Only compounds that have both of these tags will be shown when you click OK. All other compounds will be hidden. Any tags left in the Available tags list will not affect the filter.
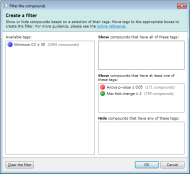
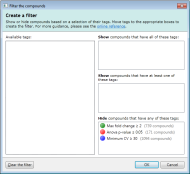
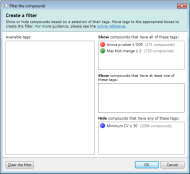
Here are some further examples of tag combinations you could use to filter your compounds:
Finally, to return to showing all compounds, just click the Clear the filter button and click OK.


