How can I correct localised alignment errors?
If, after reviewing the alignment of your runs , you’ve decided you want to make some localised improvements, you’ll need to add some manual vectors:
- Check that you are set up so your view reflects the alignment being applied by selecting the drop down arrow next to Show Aligned and selecting Always Show Aligned.
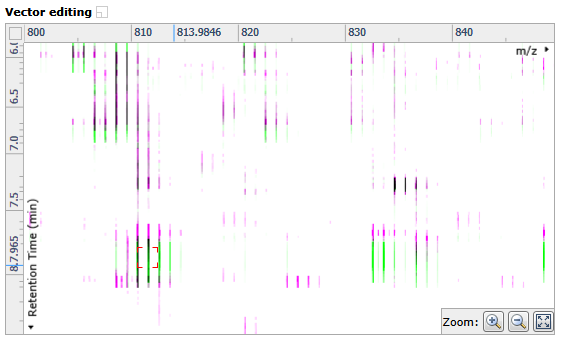
- Zoom in on the Vector editing window so that you can see the ions clearly in the area that needs adjustment.
- Click and hold on a green ion in the Vector editing window and drag it over the top of the corresponding magenta (reference run) ion – a red box should appear around the ions when they’re overlapped.

- Once you’re happy with the placement, release your left mouse button to place a manual (red) vector. An improvement in alignment should be reflected in an increased score.
Note: An incorrectly placed vector can be removed by right clicking on it in the Vector editing window. - Repeat actions 2-4 for any other areas in any of your runs which need adjustment.
Note: Vectors affect the alignment quality across the full m/z range for a run so if a run is green all the way across apart from a small red section, fixing the alignment for this section could actually make it worse for the rest of the m/z range at that RT (particularly if that section contains little / no signal).


